
|
|

|

|

|
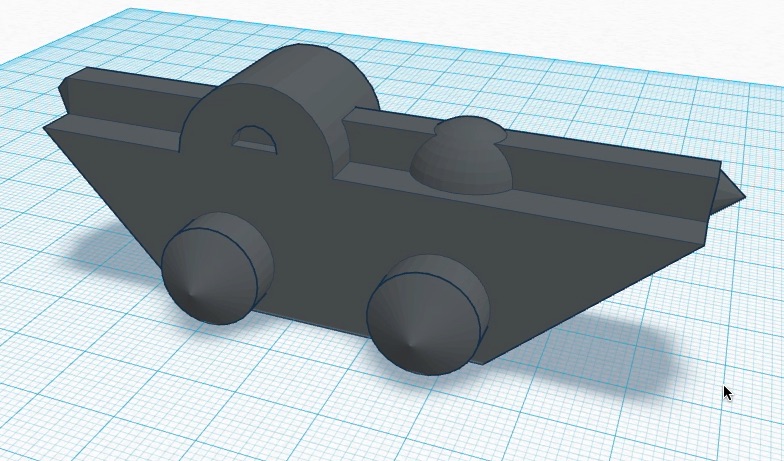
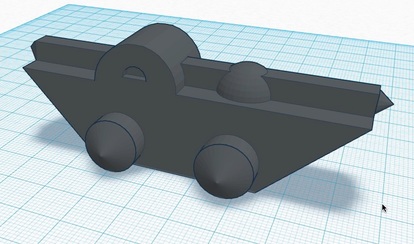
3D Structure - A Sum of Parts
Count and identify all the shapes that are used to make the tank below, including holes. The video on the left shows a 360 view of the tank as a whole (grouped). The video on the right shows a 360 view of the tank identifying all the shapes included to construct the tank (ungrouped). Use THIS CHART to identify all shapes that could be used in the design of the tank.
Click for Video - Tank Grouped
|
Click for Video - Tank Ungrouped
|
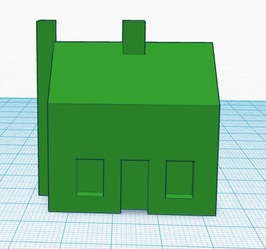
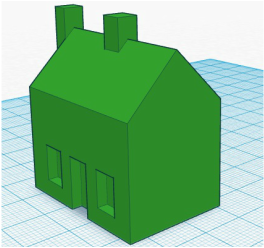
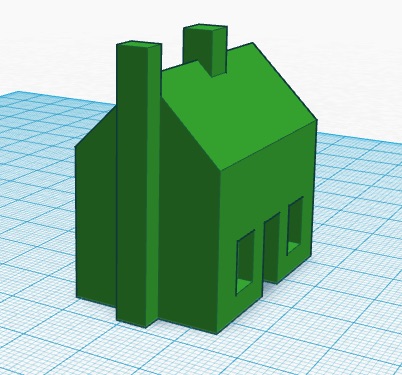
3D Design - Building a House
As an introduction to 3D design, you will use www.Tinkercad.com to build a specific house. Click any of the houses below to open the instructions.
|
|
|
|
As you are following instructions, a video has been provided to show you the step-by-step process. Please feel free to play and pause the video (link to the right) as you are following the instructions to build your house.
|
|
Will It Print? - What Works, What Doesn't
3D Design & Printing Group Project
Using your 3D design skills, design and print a prototype to replace a movable joint in the human skeleton (knee, elbow, etc.). We will use pieces of PVC as models for bone. Students will work on this project with a partner (or 2 if necessary). Each teammate will design part of a movable skeletal joint. Teammate 1's part must not only fit on to a bone (or bones depending on the joint) but must also connect to Teammate 2's part. Just the same, Teammate 2's part must not only fit on to a bone (or bones) but must also connect to Teammate 1's part. When the two parts are connected, the appropriate movement must occur. Example: Teammate 1 creates a part that connects to the bones of the forearm which fits into Teammate 2's part which connects to the bone of the upper arm. When connected, a hinge joint is created.
You and your teammate must:
You and your teammate must:
- Research a movable joint in the human body (knee, elbow, shoulder, etc.)
- Measure the dimensions of bone models
- Use Tinkercad to design the joint parts separately (prototype)
- Print and test the parts (prototype)
- Each teammate must either engrave or emboss their period followed by their assigned Chromebook number on their part. Example: A student in my period 4 class who is assigned Chromebook 13 would engrave "413" onto their part. This will be used to identify the owner/creator of each part.
- Use remaining time to redesign and re-print
Project Rubric
|
Once a student is proficient in 3-dimensional design and printing, they are encouraged to use the resource in future projects. 3-dimensional images can be used as part of a prototype sketch or presentation. The printer can be used to create parts for a prototype or the prototype itself. As well, in future years at FHS, remember the 3D printer is always available to students.
|

